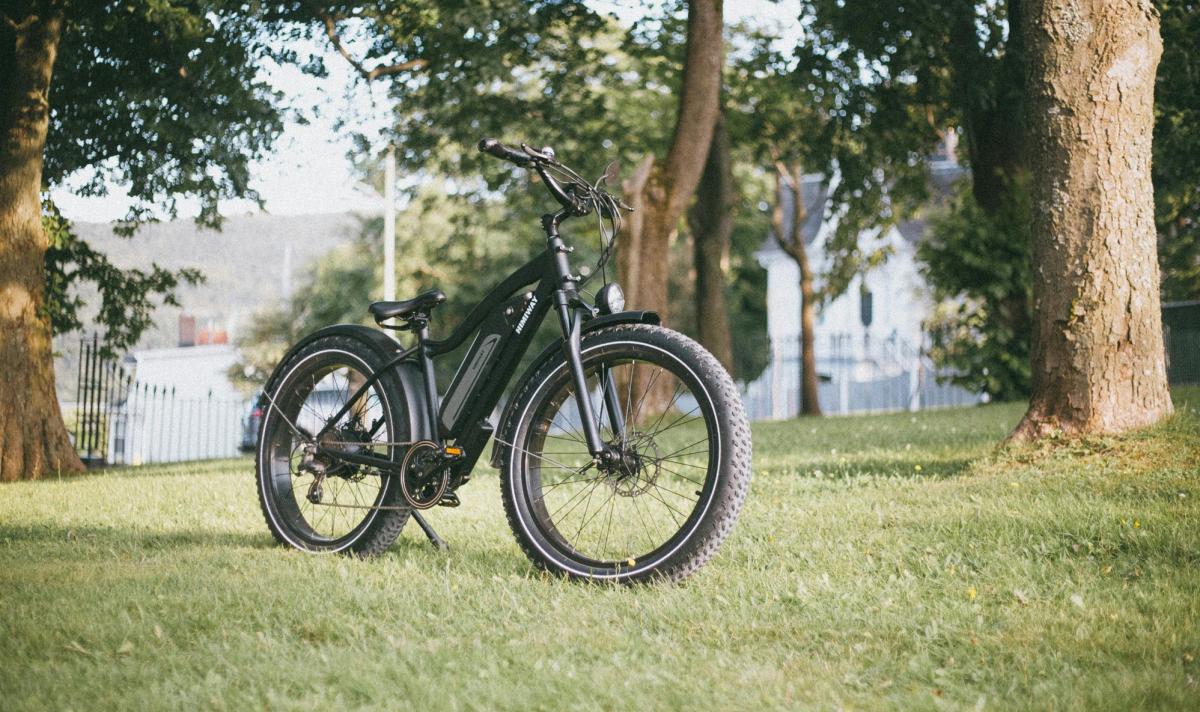
Converting a mountain bike into an electric bike (e-bike) is a great way to enjoy the power and flexibility of an e-bike without the cost of buying a new one. With the right tools and components, you can transform your existing mountain bike into a powerful, pedal-assist e-bike. In this guide, we’ll walk you through the steps and considerations for converting a mountain bike into an electric bike, allowing you to tackle trails and tough terrain with ease.
Why Convert a Mountain Bike into an Electric Bike?
Mountain bikes are designed to handle rough terrain, steep climbs, and off-road conditions, making them an excellent choice for conversion. Adding an electric motor to a mountain bike gives you the best of both worlds: the durability of a mountain bike and the power of an e-bike. Whether you want to extend your rides, tackle hills effortlessly, or simply enjoy the thrill of electric-assisted cycling, converting your mountain bike is a cost-effective solution.
What You Need to Know Before Converting a Mountain Bike
Before diving into the conversion process, there are a few important factors to consider, including compatibility, budget, and the type of motor and battery that best suit your needs. Understanding these elements will help you make informed decisions as you go through the conversion process.
Step-by-Step Guide to Converting Your Mountain Bike into an Electric Bike
1. Choose the Right Conversion Kit
There are several types of e-bike conversion kits available, each with its own set of advantages. Here’s a breakdown of the main types:
- Front Hub Motor Kit: Installs in the front wheel hub. This kit is relatively easy to install but may affect the bike’s balance, especially on rough terrain.
- Rear Hub Motor Kit: Installs in the rear wheel hub, providing better traction and balance for off-road riding. It’s a popular choice for mountain bike conversions.
- Mid-Drive Motor Kit: Positioned near the pedals, a mid-drive motor offers excellent weight distribution and efficient power transfer. It’s ideal for mountain biking but requires more complex installation.
Best practice: For mountain biking, a mid-drive or rear hub motor is often recommended for better handling and power on trails.
2. Select a Battery
The battery is a critical component for your e-bike’s range and performance. Here’s what to consider when choosing a battery:
- Battery Capacity: Choose a battery with at least 500Wh capacity for decent range on rough terrain. Higher capacity (e.g., 750Wh or 1000Wh) provides extended range but may add weight.
- Voltage: Most conversion kits are compatible with 36V or 48V batteries. Higher voltage provides more power, which can be beneficial for mountain biking.
- Mounting Location: Decide where to mount the battery, typically on the frame’s downtube or in a rear rack. Frame-mounted batteries offer better balance.
Pro tip: Consider the battery’s weight and dimensions to ensure it fits your bike’s frame without affecting handling.
3. Gather Necessary Tools and Equipment
Having the right tools makes the conversion process smoother. Here’s a list of tools you may need:
- Allen Wrenches: To remove and install various components.
- Wrenches: For tightening nuts and bolts on the wheels and motor.
- Tire Levers: If you’re installing a hub motor, tire levers help remove and reinstall tires.
- Cable Ties: To secure cables along the frame neatly.
Safety tip: Work in a well-lit area, and if you’re unfamiliar with bike mechanics, consider consulting a bike technician for guidance.
4. Install the Motor
Depending on the type of motor kit you choose, the installation process may vary. Follow these general steps:
- Front or Rear Hub Motor: Remove the wheel and replace it with the motorized wheel from the kit. Secure it in the fork or rear dropouts and check that it’s centered and tightened properly.
- Mid-Drive Motor: Remove the bike’s crankset and bottom bracket, then install the mid-drive motor in its place. Reattach the crank arms and make sure everything is secure.
Best practice: Refer to the instructions provided with your conversion kit for specific installation details.
5. Install the Battery
Once the motor is in place, install the battery on your chosen mounting location:
- Frame Mount: Attach the battery mount to the downtube using the existing water bottle cage holes, if available. Ensure it’s secure and won’t move during your rides.
- Rear Rack Mount: If your bike has a rear rack, you can attach the battery to it. Make sure it’s balanced and properly secured.
Pro tip: Double-check the battery mount and connectors to prevent any disconnections while riding.
6. Connect the Wiring
Most conversion kits include a wiring harness that connects the motor, battery, throttle, and other components. Here’s how to approach wiring:
- Follow Instructions: Carefully follow the wiring instructions provided in your conversion kit. Incorrect wiring can cause the motor to malfunction.
- Use Cable Ties: Secure the wires along the frame using cable ties to keep them organized and prevent tangling.
Safety tip: Ensure that all connections are secure and that wires are not exposed to potential damage.
7. Install the Throttle and Display
The throttle and display allow you to control your e-bike and monitor performance. Here’s how to set them up:
- Throttle: Attach the throttle to the handlebar, positioning it where you can easily reach it with your thumb or hand. Tighten it securely.
- Display: Install the display on the handlebar. Most displays show battery level, speed, and other metrics. Adjust the angle for easy visibility.
Best practice: Familiarize yourself with the display controls and settings to get the most out of your converted e-bike.
8. Test Your New Electric Bike
Once all components are installed, it’s time to test your new e-bike. Here’s how to conduct a safe test ride:
- Check All Connections: Ensure that all connections are secure and that the battery is fully charged.
- Start Slowly: Begin by riding at a slow pace to get used to the motor assistance and throttle control.
- Test Brakes and Handling: Make sure your brakes are responsive and that you feel comfortable handling the bike with the added weight of the motor and battery.
Safety tip: Wear a helmet and ride in a low-traffic area for your first test to get familiar with the bike’s new handling and power.
Maintaining Your Converted Electric Mountain Bike
Maintaining your e-bike is essential for optimal performance and longevity. Here are some key maintenance tips:
- Regular Battery Charging: Charge the battery after each ride and store it in a cool, dry place to extend its lifespan.
- Inspect the Motor: Periodically check the motor for any loose bolts or unusual noises.
- Keep Connections Clean: Dust and dirt can accumulate on connectors. Keep them clean to prevent power loss or electrical issues.
Pro tip: Schedule routine maintenance, especially if you ride on rough terrain, to keep your converted bike in top condition.
Real-Life Example: Converting a Mountain Bike for Weekend Adventures
Mike, an avid mountain biker, decided to convert his bike to an electric model to enjoy longer weekend rides. He chose a mid-drive motor for better torque and handling on trails, paired it with a 48V 500Wh battery, and installed the components using a DIY conversion kit. Now, Mike enjoys the thrill of mountain biking with the added power to tackle challenging terrain and extended trails with ease.
Conclusion: How to Convert a Mountain Bike into an Electric Bike
Converting a mountain bike into an electric bike can be a rewarding and practical project, allowing you to enjoy the best of both worlds. By choosing the right conversion kit, battery, and components, you can turn your existing mountain bike into a powerful e-bike that’s ready for trails and adventures. Follow these steps, and you’ll be on your way to enjoying the thrill of electric mountain biking in no time.


